
AZ-204 Guide: Implement IaaS solutions - provision VMs
*This article could be a summary of content for learning purposes. For more information and knowledge, read the original articles in the References section.In general, when you want to deploy a new VM, you need to follow these steps:
- Create a resource group for the VM. You can also use an existing resource group for this VM.
- Create a virtual network. If you are using the Azure portal, you can do this while you are creating the VM. For PowerShell and Azure CLI, you need to specify the virtual network. However, if a virtual network doesn’t already exist, one is created automatically.
- Create a virtual network interface cards (NIC). If you are using Azure portal, PowerShell, or Azure CLI, you don’t need to do this because the deployment process automatically creates the NIC for you.
- Create the virtual machine.
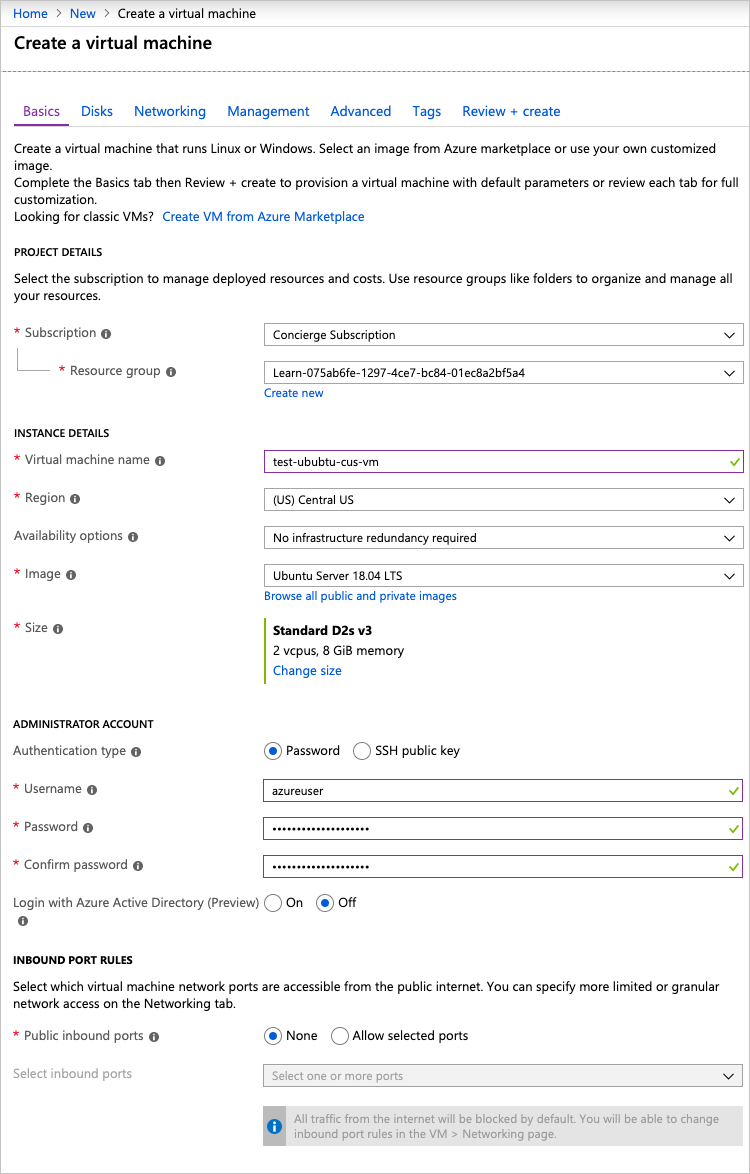
Using the Azure portal
The Azure portal provides an easy-to-use browser-based user interface that allows you to create and manage all your Azure resources. We need to configure the basic parameters of our virtual machine.
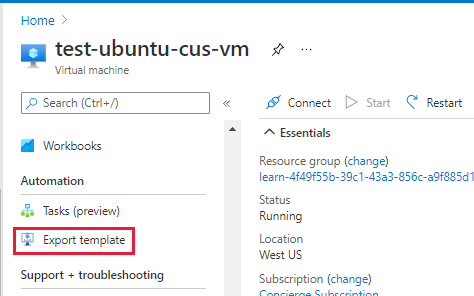
Using Resource Manager templates
Resource Manager templates are JSON files that define the resources you need to deploy for your solution. You can create resource templates from the Settings section for a specific VM by selecting the Export template option.
Using PowerShell
Creating administration scripts is a powerful way to optimize your workflow. Azure PowerShell is ideal for one-off interactive tasks and/or the automation of repeated tasks.
Using Azure CLI
The Azure CLI is Microsoft’s cross-platform command-line tool for managing Azure resources such as virtual machines and disks from the command line.
Programmatically using REST API
The Azure Compute APIs give you programmatic access to virtual machines and their supporting resources. With this API, you have operations to:
- Create and manage availability sets
- Add and manage virtual machine extensions
- Create and manage managed disks, snapshots, and images
- Access the platform images available in Azure
- Retrieve usage information of your resources
- Create and manage virtual machines
- Create and manage virtual machine scale sets
Here’s an example snippet of C# code to create an Azure:
Availability of your Azure VMs
If your application or software solution must be highly available, you would typically use a load balancer. If your virtual machines use a load balancer, you need to put your VMs that host the application into an availability set. Using an availability set ensures that any virtual machine in the same availability set is not placed on the same hardware. Placing the virtual machines in different equipment ensures that the VMs are not restarted at the same time because of software upgrades on the servers running the VM. A virtual machine may only be added to an availability set during the creation of the VM.
References
 Buy us a coffe
Related Posts

© 2021, All Rights Reserved.
Quick Links
Legal Stuff